How to Animate Lip Swatch Videos That Pop on Screen
Discover how to animate lip swatch videos that captivate - showcasing color, texture, and finish with motion, overlays, and edits that make every swipe stand out.
13 Jun'25
By Niharika Paswan

How to Animate Lip Swatch Videos That Pop on Screen
A great lip swatch is more than a swipe of color. It’s about capturing the texture, the tone, the finish, exactly how it looks and feels in real life. And in the era of short-form beauty content, just showing a lipstick isn’t enough. You’ve got to animate it. Make it move. Make it shine.
From shooting angles to overlays, from bullet glide to final export, getting that perfect lip swatch reel takes more than good lighting and a ring light. It takes planning, polish, and the right post tricks to bring every color to life.
Here’s your guide to creating lip swatches that don’t just inform but inspire. Whether you're a content creator, a brand, or a beauty editor, these steps will help you create visuals that pop on screen and stick in memory.
1. Prepping the Canvas: Lips First, Product Second

Before the camera comes out, the lips need prep. A smooth canvas makes the swatch pop. Here’s how to prep for clarity and consistency:
- Exfoliate gently Use a soft lip scrub or damp washcloth to remove dry patches. Cracked lips break the light and distort color.
- Hydrate without shine A light layer of balm helps lipstick glide but avoid anything too glossy, especially if you’re showcasing a matte formula.
- Neutralize the base For true color payoff, lightly dab concealer around the lip line. It cancels out redness and helps edges look crisp on camera.
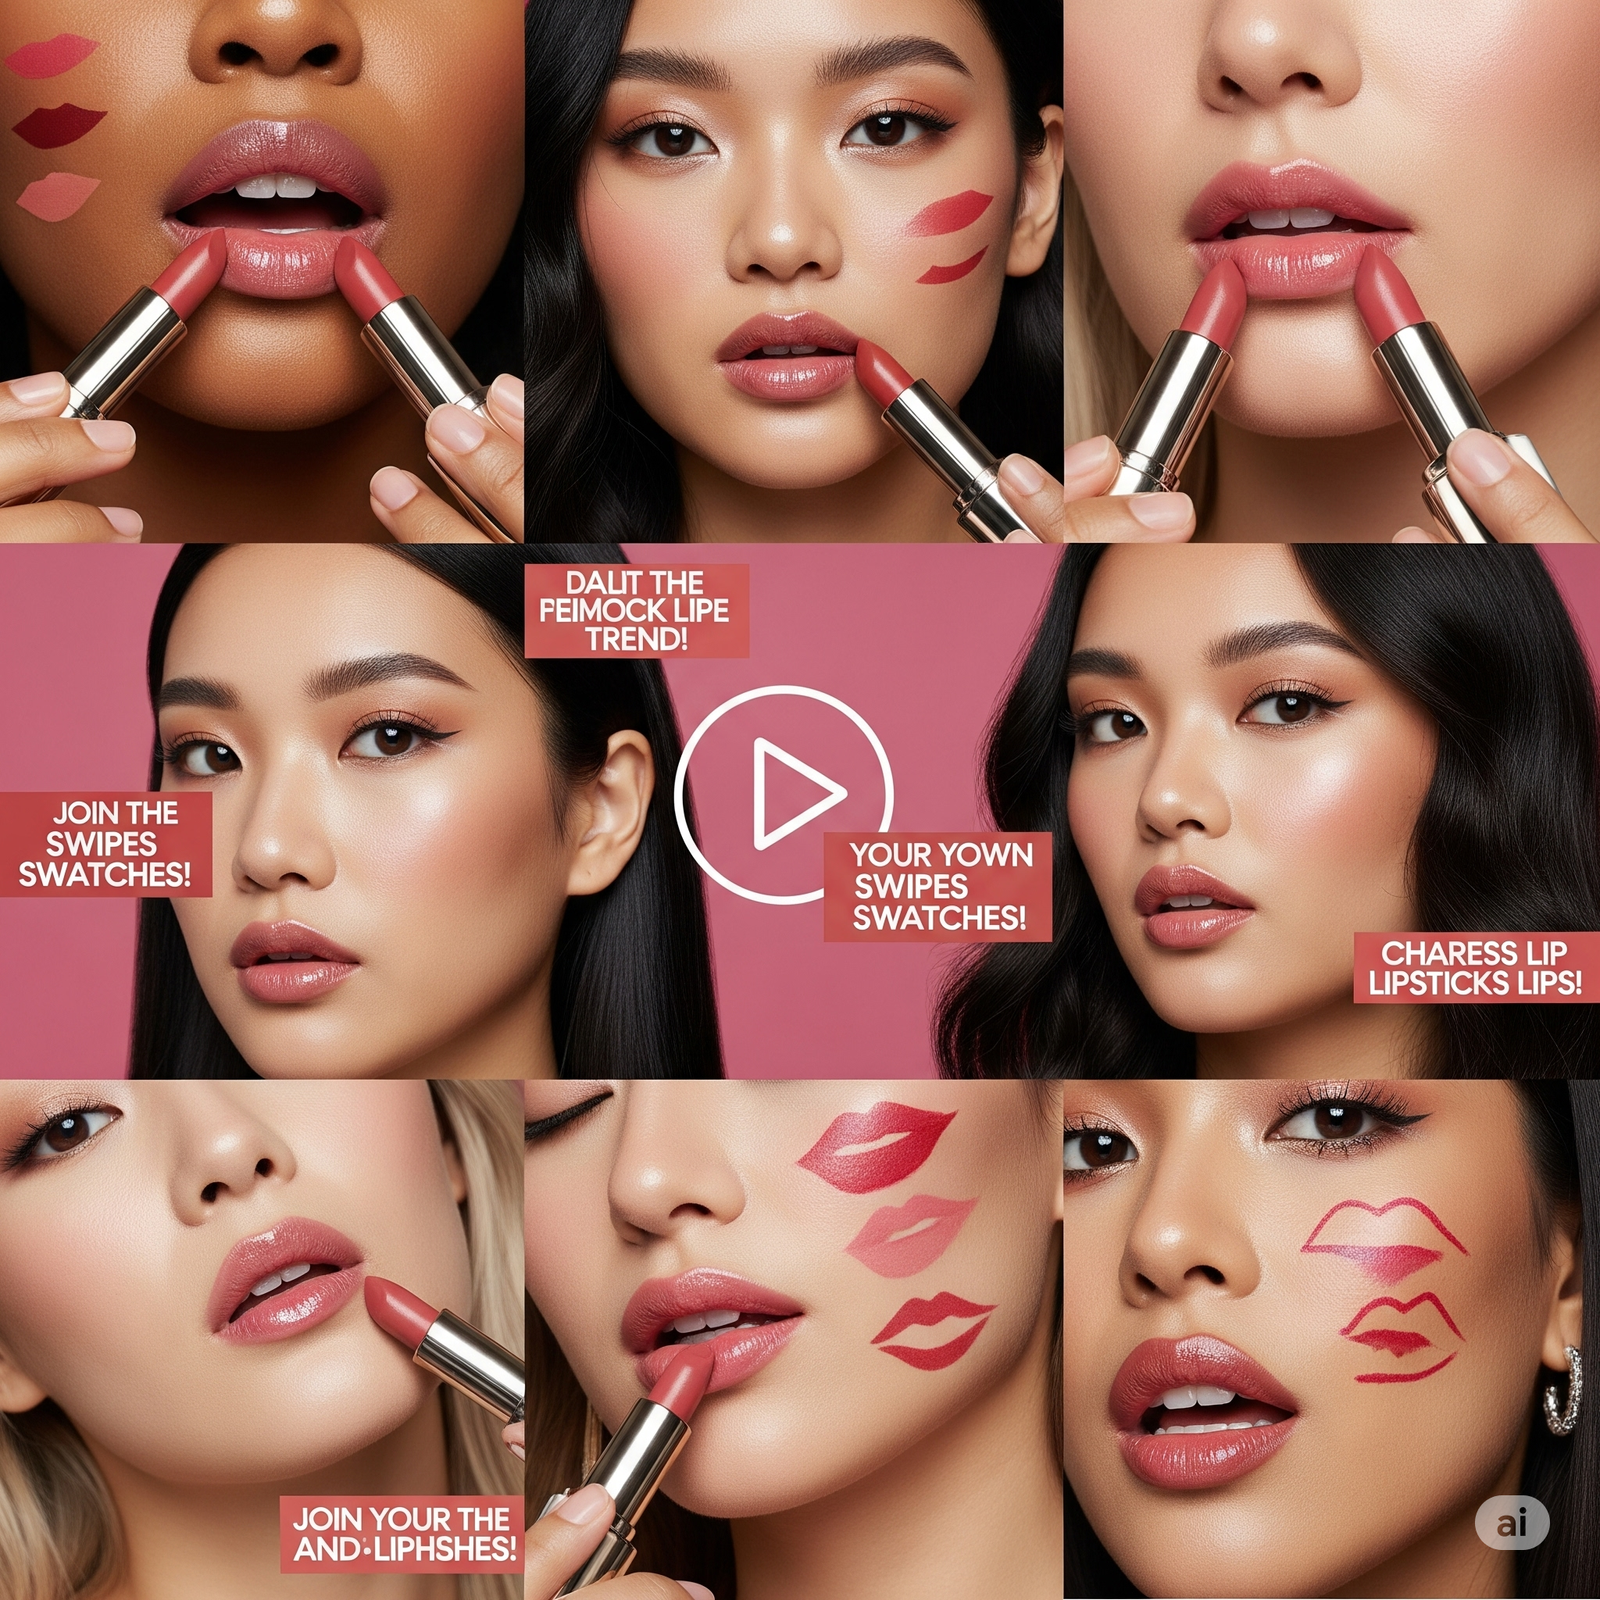
2. Framing It Right: Lip-Focused Angle Guides
Lip swatches don’t need multiple angles, they need the right one. You want to keep the viewer’s focus exactly where it matters.
- Macro crop, mouth-only Frame the shot tight on the lips. Avoid distracting eye contact or expressions unless the reel style demands it.
- Slight tilt forward Position the face slightly down so the upper lip catches light. This adds dimension and makes texture more visible.
- Light placement Use a softbox or ring light at a 45-degree angle. This minimizes shadows and highlights finish, whether gloss or matte.
- Neutral background Stick to simple colors that don’t compete with the lipstick. A white, beige, or soft-toned background keeps the focus on the lips.
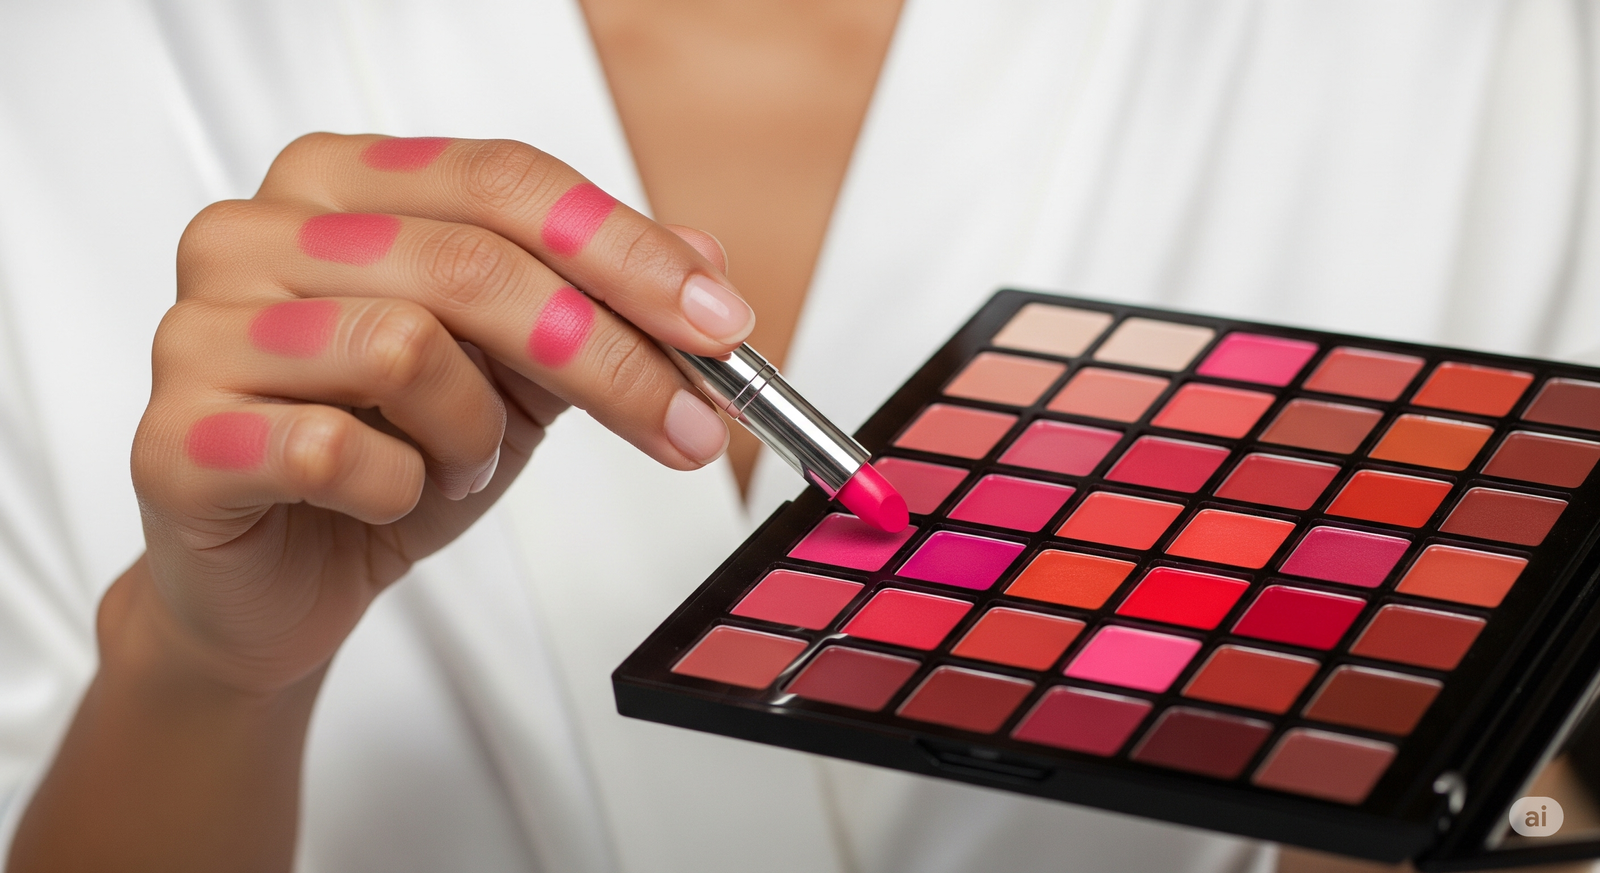
3. Filming the Swipe: One Clean Motion

The hero shot of every swatch is the swipe. But a good swipe isn’t rushed or messy. It’s deliberate.
- Start off-frame Begin with the lipstick bullet just outside the frame. Bring it into view as you swipe across the lower lip first.
- Glide in one smooth stroke Try to complete the swipe in one motion to avoid layering patches. Let the product speak in its natural opacity.
- Zoom with intent If filming in 4K, you can punch in during editing. Keep your frame wide enough to allow flexibility without losing clarity.
- Add final top lip pass For a full look, complete the top lip after a short pause. This break helps you add beat-sync transitions later.
4. Animating the Overlay: Motion Meets Detail
Once the footage is locked, it’s time to animate. This is where lip swatches go from basic to brilliant.
- Text overlays that follow the swipe Add the shade name or product info using kinetic text that glides in with the lipstick motion. Keep fonts clean and small.
- Blur-to-focus transitions A subtle out-of-focus intro that sharpens as the lipstick swipes adds a cinematic touch and keeps attention tight.
- Shimmer highlights on gloss For high-shine formulas, add a tiny glint animation to reflect the gloss. It creates visual ASMR even in silence.
- Match animation to music Every overlay should hit with the beat. Even subtle fades or zooms look more polished when timed to audio.
5. Showcasing Finish Clarity: Matte, Satin, Gloss

No matter how pretty the color is, if the viewer can’t tell the finish, the swatch isn’t doing its job.
- Matte Use sharp lighting with minimal reflection. Zoom in to capture the velvet texture. Show it move slightly under light to prove it’s not flat.
- Satin This finish has a soft sheen. Highlight it with natural movement, talking, smiling, pressing lips together, to reveal how it catches light.
- Gloss Make it sparkle. Use ring light reflections intentionally. Apply gloss on-camera if possible to showcase the juicy texture in real-time.
- Multi-finish swatch series For product lines that include all finishes, create a side-by-side or three-part split to contrast them clearly in one frame.
6. Loop-Ready Edits: Make It Rewatchable
Great swatches aren’t just beautiful, they’re rewatchable. Editing for loop keeps viewers hooked.
- Start and end with same pose Begin and close your clip with the same shot or motion. It creates a seamless loop for Instagram or TikTok.
- Build in beats Use music cues to guide your transitions. Each shade shift, swipe, or zoom should land on rhythm.
- Don’t overcut Give the viewer a second to actually see the shade. Quick edits are great, but if it’s too fast to register, the payoff is lost.
Admigos Angle: Production + Post + Polish Partner
At Admigos, we don’t just film lips. We craft visual stories around every swipe. From pre-production setups to final post polish, our team works as a seamless extension of your brand.
We handle:
- High-res macro lip shoots with calibrated lighting
- Clean audio capture for swatch ASMR
- Animation overlays synced to your brand track
- Finish-focused edits that highlight formula payoff
- Loop-ready exports optimized for reels, shorts, and web
With Admigos, your lipstick doesn’t just get seen—it gets remembered. Whether you’re launching a new line or refreshing evergreen content, we help you shoot, animate, and elevate every swatch to its highest visual potential.
Final Tip:-
The most effective lip swatches are the ones that feel real. Keep the editing clean but not fake. Let texture live. Let the swipe be a little imperfect. Let light bounce naturally.
In a sea of filters and face-smoothing, a lip swatch that looks like real lips instantly stands out.
Links to check :-
Viral Lipstick Reel Trends: Swipe, Swatch, Repeat
Explore how viral lipstick reels use rhythm, transitions, and music-sync to turn swatches into scroll-stopping visuals that blend beauty, motion, and mood perfectly.
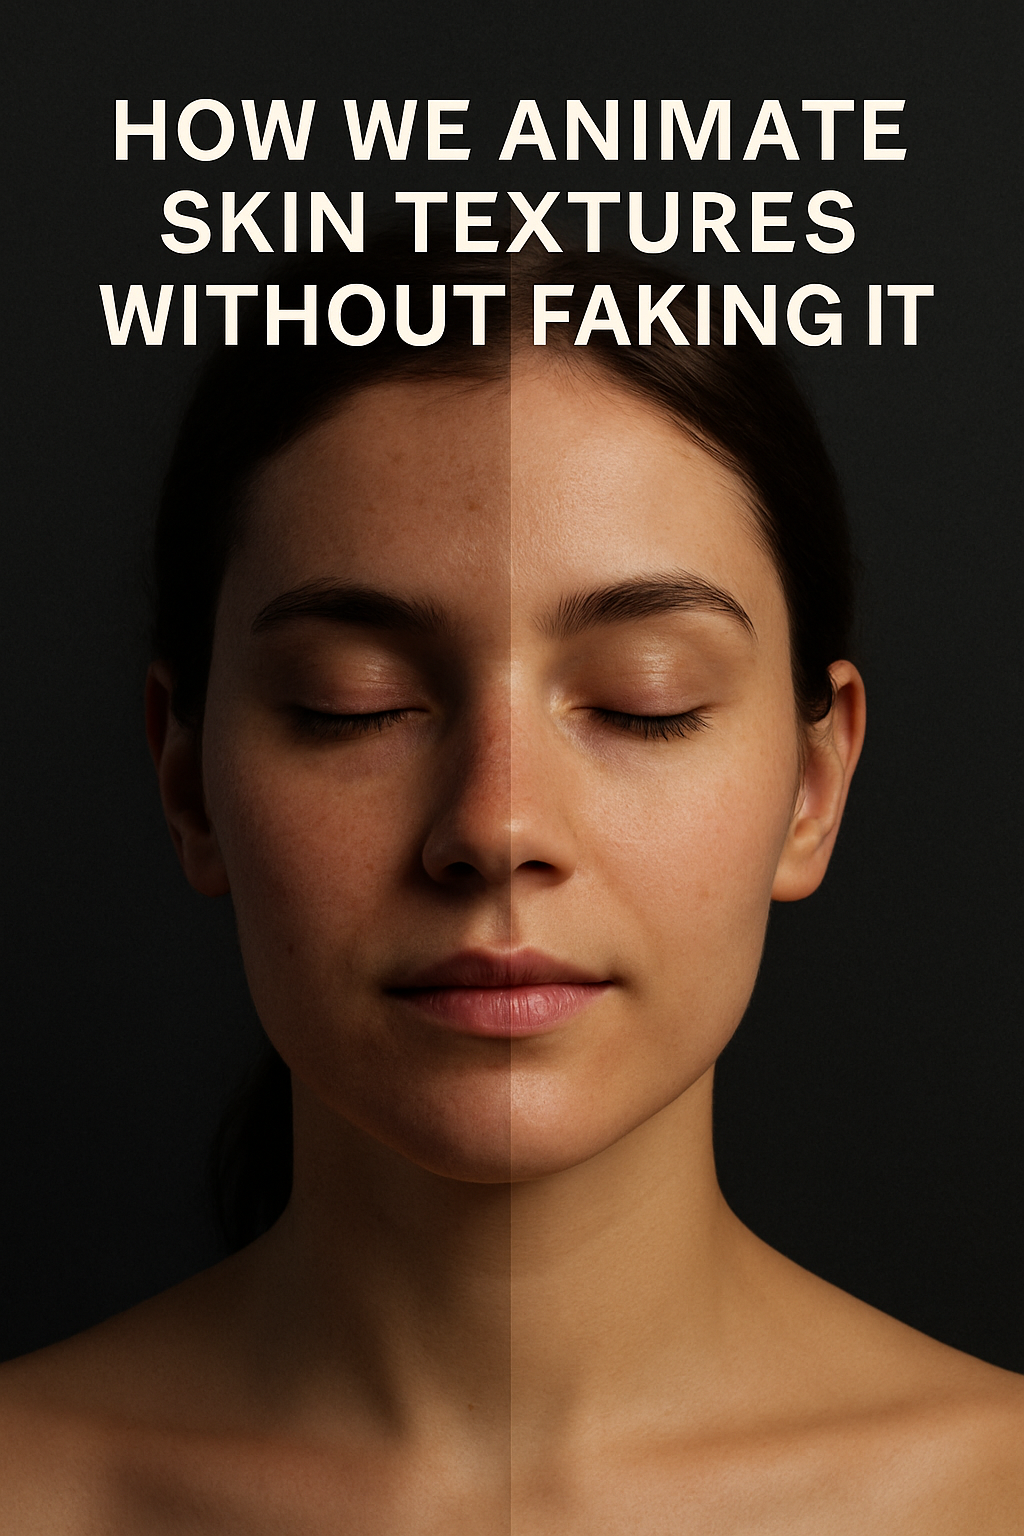
How We Animate Skin Textures Without Faking It
Real Skin, Real Story! We don’t fake it. We simply animate it!